Editing Spaces / Projects
Creating your own space
Among the space cards of the Space browser menu, you will find a special card entitled "Create My Own Space". Clicking on this card will take you to the MaxWhere Portal, where you can begin the process of creating your own copy of one of the demo spaces. Note that you may need to choose a subscription plan (or renew your existing plan) depending on what plan you are in and how many spaces you already own.
Editing smartboards
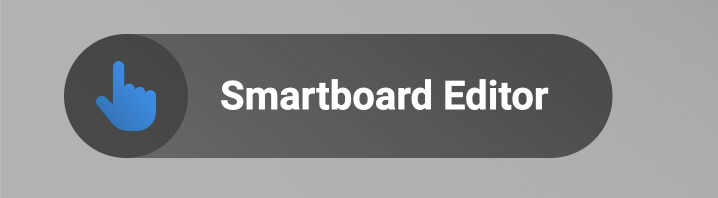
Depending on your role inside a given space, the Smartboard Editor menu may be available to you from within the 2D MaxWhere menu, in the form of an icon showing a blue hand ("blue hand icon"). In general, you will be able to enter this menu if you are an editor of the space (meaning that you can create new projects), or if at least one project that has been shared with you for editing purposes is open inside the space.
Adding a new smartboard to the space
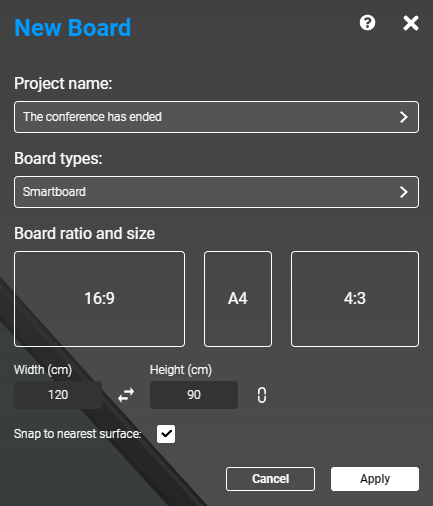
To add a new smartboard to the space, point the red 3D crosshair at any suitable surface and open the MaxWhere menu with a right-click on your mouse. Next, click on the blue hand icon to access the Add new smartboard (+) button for creating new smartboards. A "New Board" panel will subsequently appear, which you can use to specify the following parameters of the new smartboard prior to its creation:
- the project to which the new smartboard should belong (only those projects are listed for which you have editing privileges)
- the type of smartboard (i.e., smartboard, sleepy smartboard, image frame, billboard, or selection panel)
- the aspect ratio / size of the new smartboard
When you create a Selection Panel, a Selection Panel will appear instead of smartboard. However, you will be able to customize the details of the selection panel only once it is saved (and synchronized to the cloud). Therefore, it is recommended that you click on the save icon immediately after creating a Selection Panel to make it editable.
Editing an existing smartboard in the space
To edit a specific smartboard that is already visible inside the 3D space, look at the smartboard (i.e., point the red 3D crosshair at it) and open the MaxWhere menu with a right-click on your mouse. Next, click on the blue hand icon to access the settings menu for the given smartboard. Note that in case you have no privileges to edit the smartboard, the icon will be greyed out.
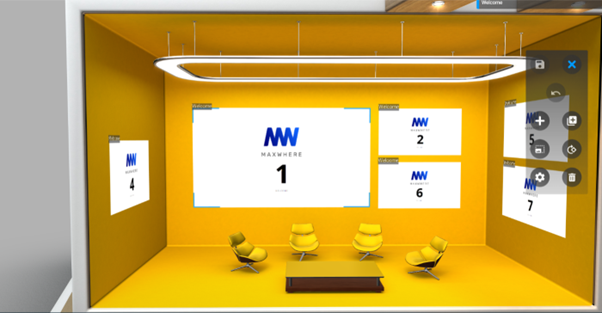
When you begin to edit an existing smartboard, a blue frame will appear around its corners. The name of the project to which it belongs will also be visible on the top-right corner of the screen.
The smartboard can then be:
- moved right-left-up-down with the mouse and the arrow keys
- shifted within its own plane using mouse movements while holding down the Shift key
- moved forward and backwards using the scroll wheel on the mouse
- rotated around the global vertical and local horizontal axes every 5 degrees using the arrow keys while holding down the Ctrl key.
- freely rotated using mouse movements while holding down the right mouse button (or holding down the Ctrl key)
- resized using drag-and-drop movements from the edges and corners
In addition, one can:
- Save the smartboard using the save (disk) icon in the editor menu
- Undo the previous changes using the back arrow icon in the editor menu
- Duplicate the smartboard being currently edited using the duplicate icon in the editor menu
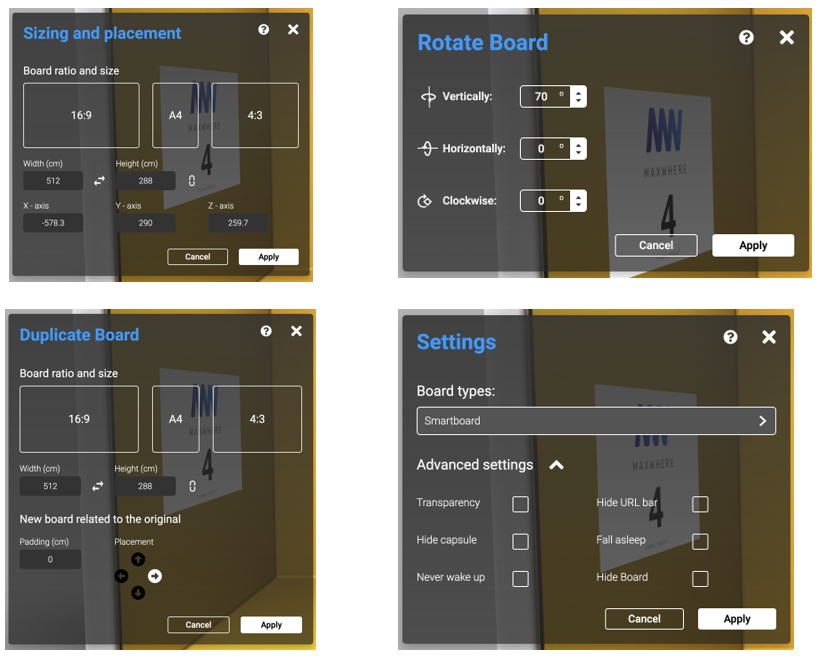
- Modify the size and orientation of the smartboard by specifying absolute numerical values for each of these parameters within the editor menu
- Change the smartboard category (e.g., smartboard, sleepy smartboard, image frame, billboard) as well as associated parameters within the settings submenu in the editor menu (for further details, please see the "Types of smartboards" section on the Smartboards page)